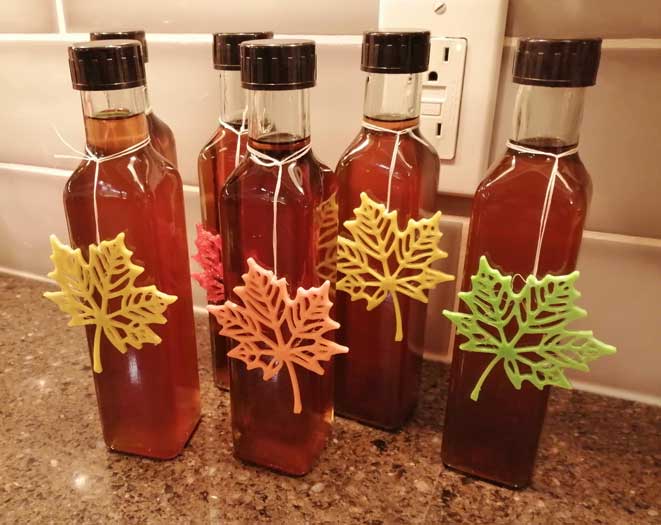
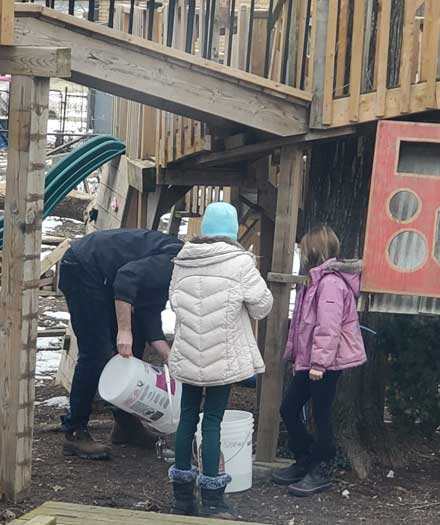
My neighbour has been tapping his maple trees for years and finally in the fall of 2023 he convinced me to start tapping mine in the following spring. Lucky for me, he supplied the buckets that I would need to collect the sap from my maple trees.
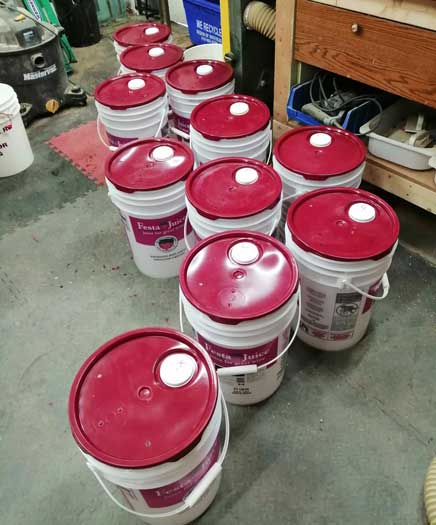
Each 25L bucket has a tight-fitting lid which I needed to drill holes into. Tubes are placed in the holes and need to be perfectly sized, so that the rain/snow water that collects on the bucket lids will not seep into the bucket.
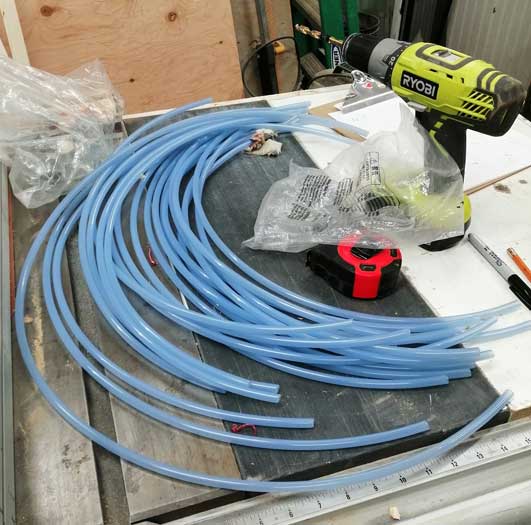
The other end of the tube is connected to a spile which is the piece that gets tapped into a hole that is drilled into the tree. For best results, the spiles should be located on the south or west side of the tree.
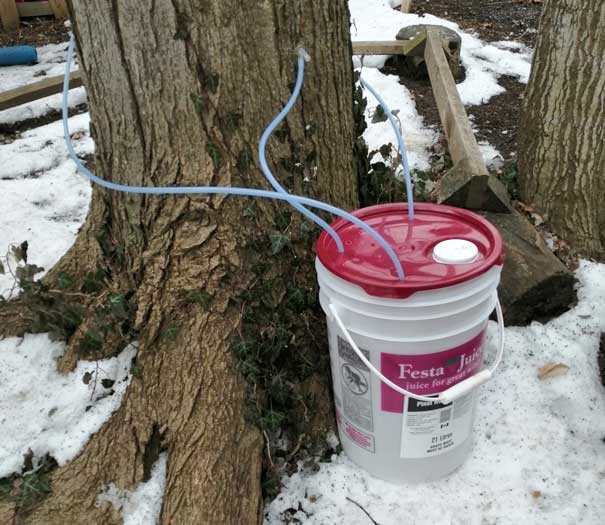
When the temperature fluctuates in the negatives at night and positives during the day, then the sap will flow through the tubes and collect in the buckets. I measure how much sap I collected from each of my trees and stored it in a larger container until I had enough to boil.
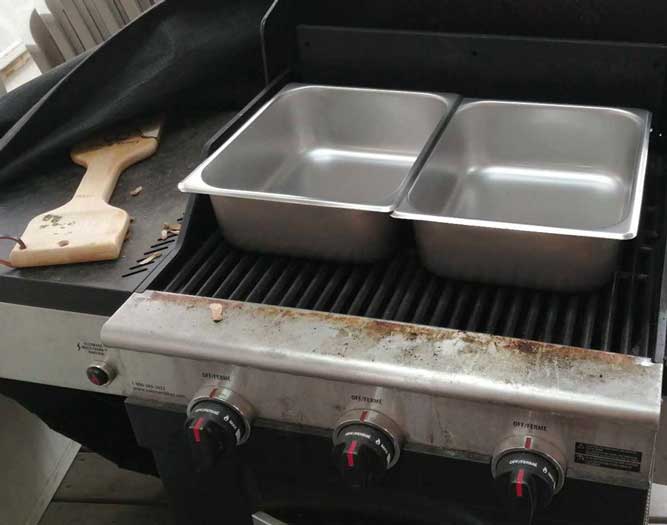
When my maple syrup adventure started, I was thinking that I would boil my sap on the BBQ in two ½ sized pans…. That was a failure. I couldn’t even get the BBQ to start a boil after an hour.
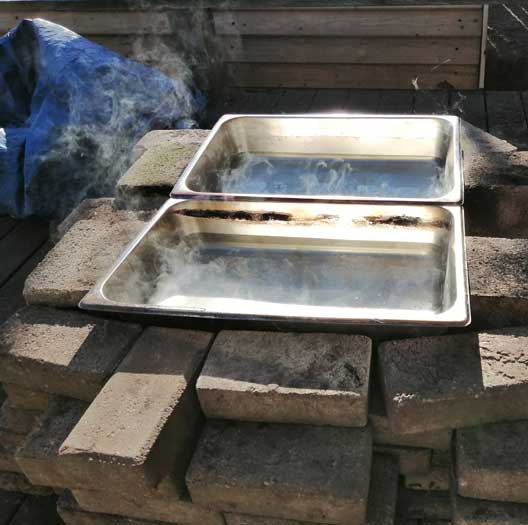
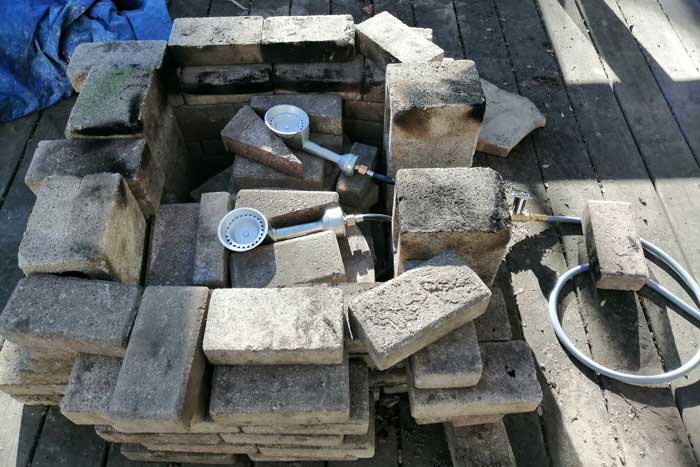
So, then I went with plan B. I purchased an outdoor fire pit ring (with a shut off valve) and I connected that to my natural gas line. I built a brick enclosure around the ring and placed two full sized pans on top.
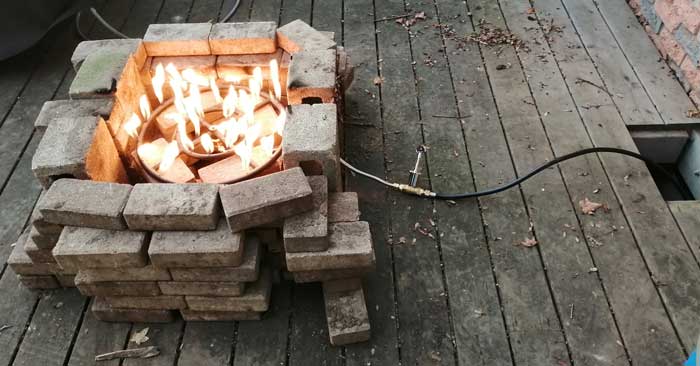
A full-sized pan is rated to be able to boil about 5L of sap per hour. My fire pit ring was boiling at about 2.5L of sap per hour …. So, it was working, but not very efficiently. The other big downfall with the fire pit ring was that it generated a tonne of soot! So much that I am still finding soot marks inside the house months later!
Plan C. I replaced the fire pit ring with two high pressure propane cast-iron burners. Connecting my natural gas line directly to the propane burners does not work. Propane is stored in liquid state under high pressure, where as natural gas is usually in gas form coming from your house supply. To compensate for this difference, I needed to drill the burner inlet connectors to have a slightly larger hole so that more natural gas could go into the burner.
These two burners upped my boiling rate to about 3.1L per hour.
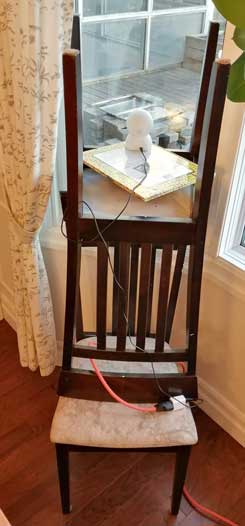
I setup a remote viewing station using two chairs, a book and a camera at one of my windows so that I could monitor remotely what was happening outside.
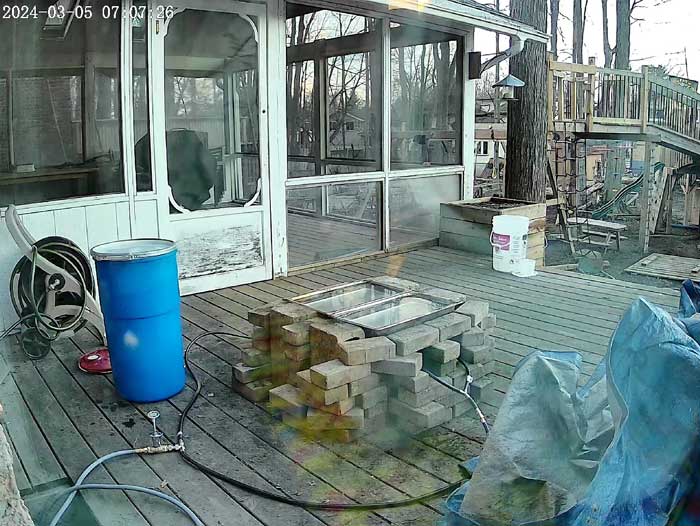
The camera feed looked like this:
I still wanted to improve my boiling rate so I decided to go with Plan D. Using an old cereal box, I traced the following shapes and cut them out.
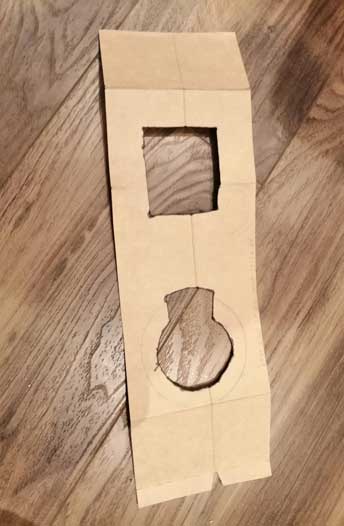
Once I was confident that my template fit a burner perfectly, I purchased two more propane cast-iron burners. Using some old 6” diameter metal duct work that I had laying around, I flattened it and cut out holes using my template. I could then mount my four burners this way and have 2 burners per pan rather than just 1 as was the case in the previous design.
Additionally, by creating the burner holders, I was able to accurately control how close the burner would sit below the bottom of each pan.
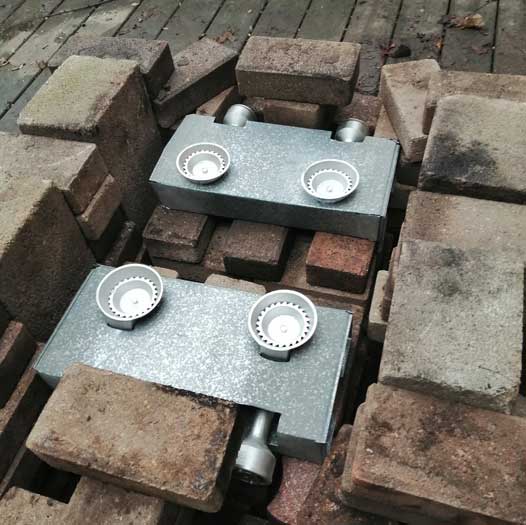
When boiling the sap, you start with a full pan and continually add more sap as water boils and evaporates away. When you run out of sap to add, you continue to boil, but now you combine the two pans into one. At this point I slide my burner holders together and have all four burners heating the bottom of one pan. I only have one shut off valve for all four burners so I can’t just use half of them, it is all or nothing!
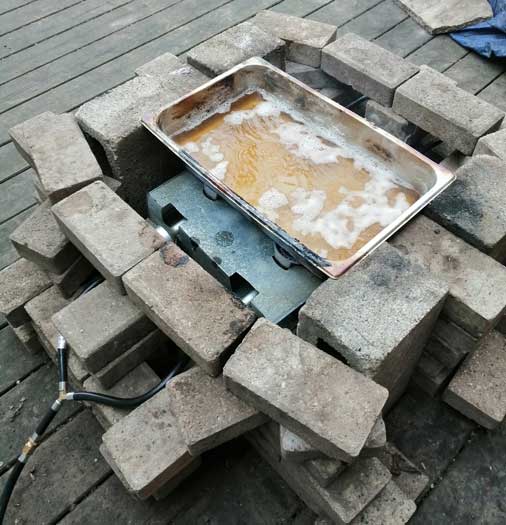
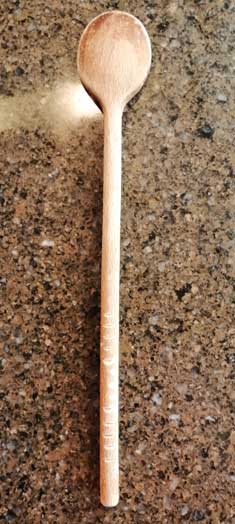
When the boiling process starts, the sap is clear and see-through. As the concentration builds because water is boiled away, the sap starts turning a golden color. I used a wooden spoon with notches cut into the handle to measure the depth of the sap in a pan. 0.3 inches is approximately 1L so using this conversion I can get an idea of how close I am to making syrup from sap.
A rough estimate is 40L of sap = 1L of syrup.
Once I start getting close to the 40:1 ratio, I begin moving my operation indoors for better control of the whole process. When I bring the boiled sap indoors, I filtered it before continuing the boiling process.
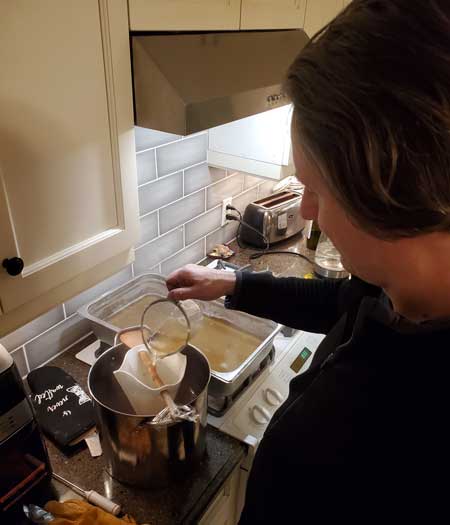
The creation of maple syrup is done when it reaches a temperature 7.4 degrees F above boiling water (ie ~219). When the temperature goes above 215 you need to be careful because you could boil over your syrup and make a giant mess.
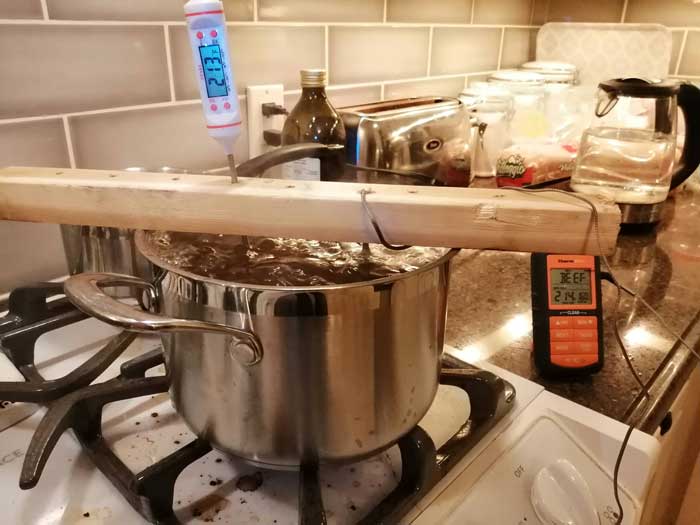
When everything is done correctly, you should have a golden-brown color and a sweet syrup!
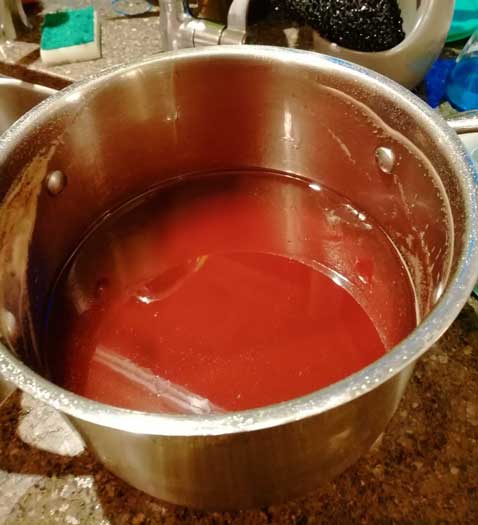
Wait until the temperature drops below 180 before filtering it one more time and then you can can/jar the results.
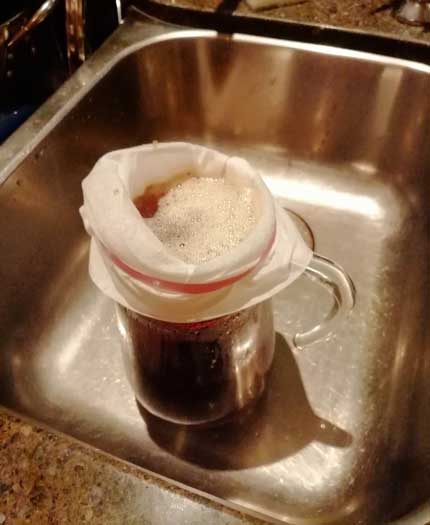
In 2024, I tapped 10 of my large maple trees, but after a week I got a good feeling about which trees would produce a lot of sap, and which ones would produce a little.
I disconnected the low producing trees and continued with the rest. Then in mid March, I reconnected all the trees in hopes to get as much sap as possible.
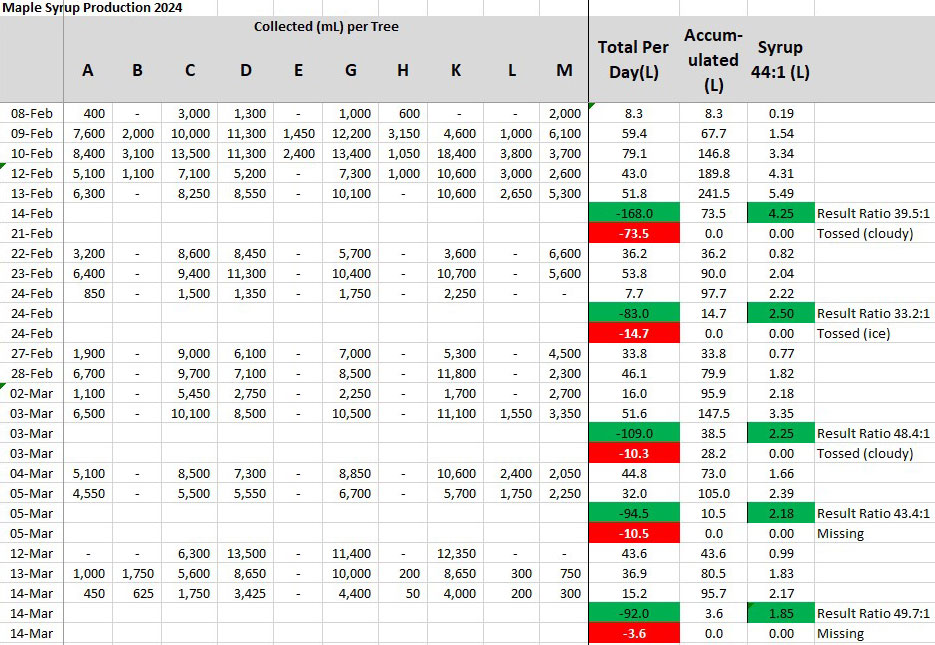
I waited until I had about 100L of collected sap before I would do a boil. I had help from my neighbour on my first boil because I had accumulated 200+L but wasn’t able to boil quickly since I was still iterating on my evaporator design.
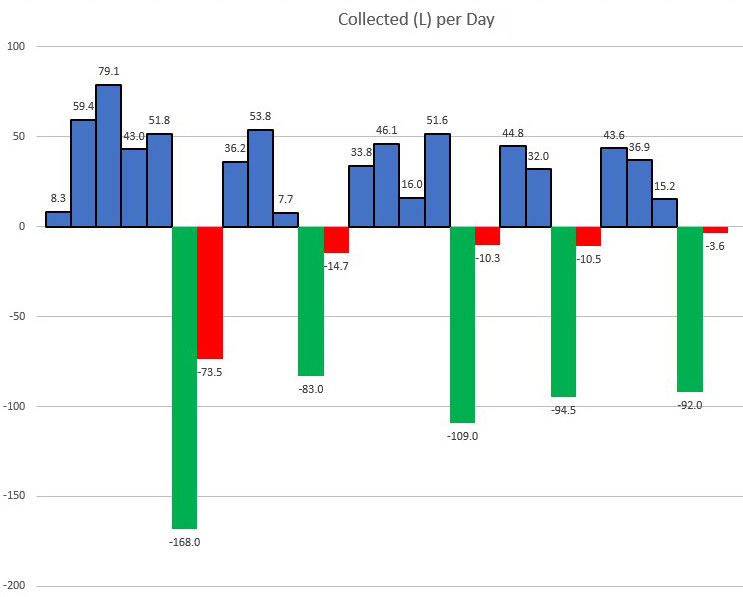
I was also surprised how much sap went missing between boils. I would collect sap from my trees and measure how many litres I collected. When I boiled, I would measure how many litres went into the pans … but yet there was always many litres of sap that went missing. Did that naturally evaporate in my storage containers over the days that I was collecting?
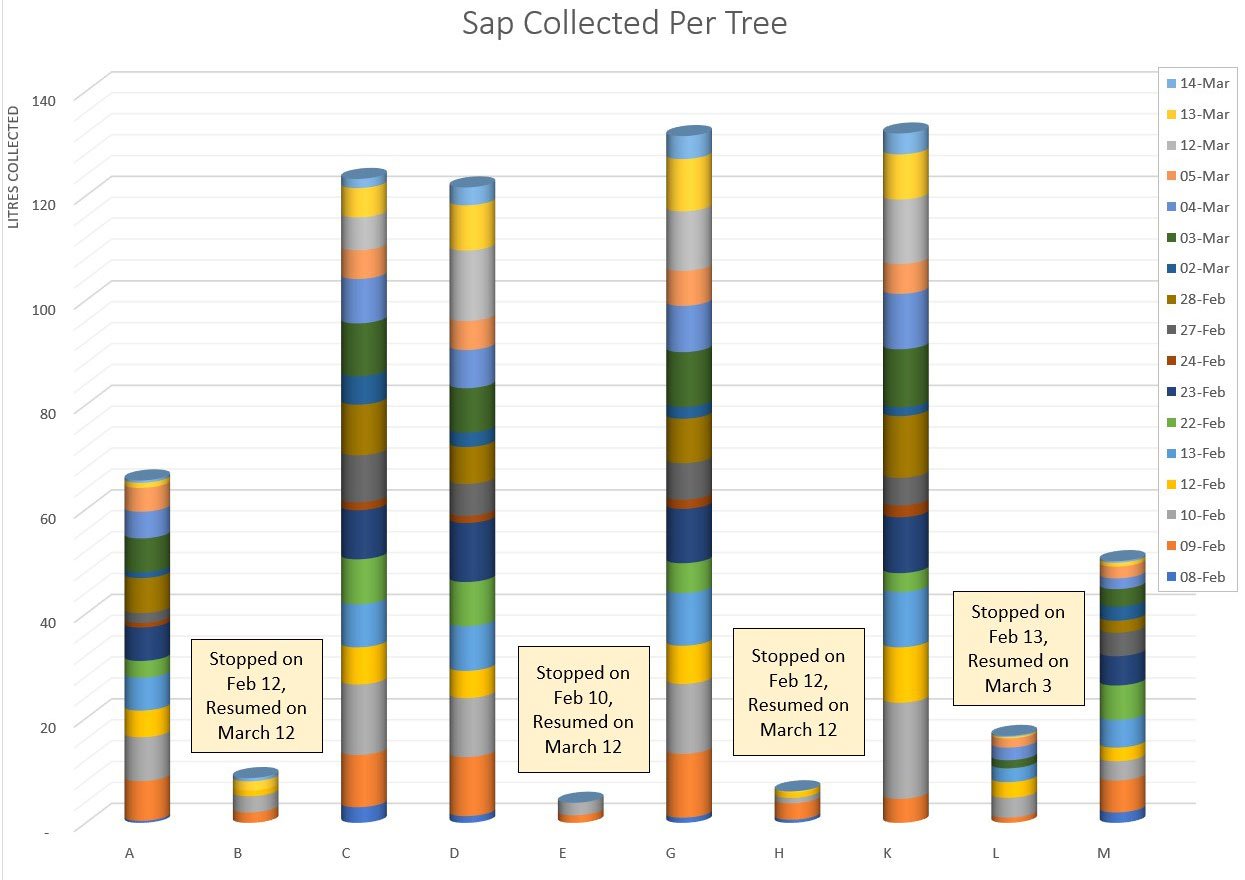
Here is a chart showing how much sap each tree produced over the entire 2024 collection period. What is really interesting is that Tree K is the smallest diameter tree of the entire bunch. It only had 1 tap connected to it. Tree C and G had 2 taps, and tree D had 3 taps because it was the largest of the lot.
Yum!
