
OpenGL Game Engine
This tutorial series will teach you to create a first person shooter game engine from scratch using OpenGL and C++. Topics covered include window management, game timing, scene management, 3D model loading, and graphical user interfaces.
The completed OpenGL Game Engine source code (and other helpful tools used throughout the video series) can be purchased from the Shop.
0: Introduction
A brief description of the Game Development series of videos. If you are going to be using Visual C++ 2005/2008 Express, you should watch VMK 45 to see the differences between the compilers that you will encounter.
1: Creating the FPS Game Engine Project
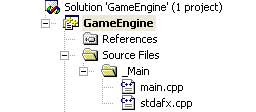
This video shows how to create the C++ project using Microsoft Visual Studio 2003. The WinMain is created in this video.
VMK45 shows how to update this GameEngine project when using a newer Microsoft Visual Studio Compiler.
VMK45 shows how to update this GameEngine project when using a newer Microsoft Visual Studio Compiler.
2: Error Handler Class
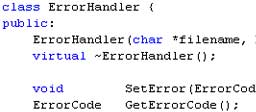
A class is created to handle all errors that may be generated in the game engine. All errors can be written to a file and displayed to the screen.
3a: GameOGL Class Setup
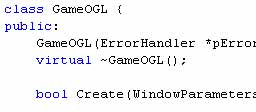
The GameOGL class is used to handle all OpenGL code in the game engine. This video is the first of a 2 part series. This video introduces the functions and variables which the class will be using.
3bc: GameOGL Class Code
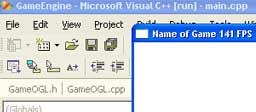
This class is used to handle all OpenGL code in the game engine. This video is the second of a 2 part series. This video covers the first half of the functions contained in the OpenGL class.
4: Creating a Vertex and Triangle Class
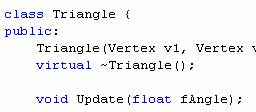
Short tutorial showing how to create a vertex and triangle class. These two classes will be used heavily by the engine to render objects on the screen.
5: Scene Class
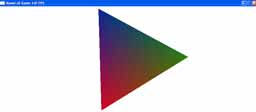
The scene class is used to lay the foundation down for the scene graph that we will be making. The scene class is used to store all the objects in the game world.
6: Scene Construction

Added color information to the Triangle class from VMK 4 and made modifications to the engine. Created a simple 3D scene to be used in the next few VMK's.
7: Vector3 Class
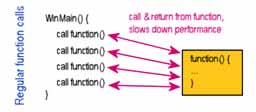
A 3D vector class is created in this video using inline function calls. This class will be used heavily in the game engine.
8: Camera Class

The camera class enables you to view the 3D scene from different positions.
9: Keyboard Control

This VMK shows you how to add keyboard controls to your scene so that you can move around in the 3D world.
10: Mouse Control

This VMK shows you how to handle the mouse input to allow you to look around in the 3D world.
11: Player Class
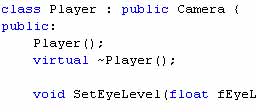
Create the Player class by inheriting from the Camera class. With the Player class you will be able to do things you could not do with just the Camera. Mouse invert capability is also added.
12: Adding Jump Ability

This video shows how to add the ability to jump to the player class. Jumping is a key press type event.
13: Adding Crouch Ability

This video shows how to add the ability to crouch to the player class. Crouching is a key press-and-hold type event.
14: Creating a House Object
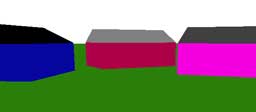
A design of a house is illustrated and the steps are taken to incorporate the house into the 3D scene. This video prepares you for handling complex objects in 3D.
15: Transparency
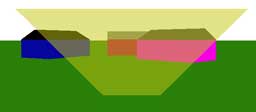
The ColorOGL structure is re-written to include an alpha component used to make things appear transparent. All render functions are moved out of the GameOGL class and the depth buffer is also discussed.
16: Library Projects
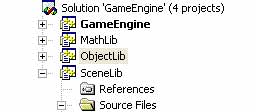
The game engine project code is cleaned up in this VMK and broken up into libraries. The 3 new library projects that are created are MathLib, ObjectLib and SceneLib. Libraries make the code more modular so that it can be reused.
17: Flat Grid Class
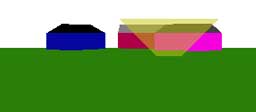
This class is used to create a flat surface in 3D that can have any size and resolution.
18a: NodeLight Class
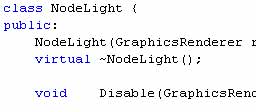
The NodeLight class is used to hold all the attributes of a light source. This video is the first of a 3 part series.
18b: Three Inherited NodeLight Classes
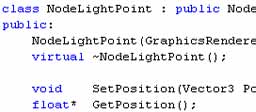
The NodeLightPoint, NodeLightDirectional and NodeLightSpot classes are created in this VMK. This video is the second of a 3 part series.
18c: Testing Light Sources
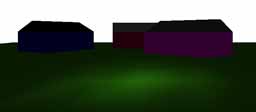
The Scene class is modified to allow us to render all light sources placed into a scene. The Directional light class is corrected and the Spot light class is also modified. This video is the last of a 3 part series.
19a: NodeTexture class
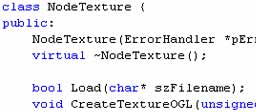
The NodeTexture class is created and a function to load a TGA file into memory is created. This video is the first of a 3 part series.
19b: Adding NodeTexture to Scene
The Scene class is modified to take into consideration textures that may be loaded into the game engine. This video is the second of a 3 part series.
19cde: Texture Mapping
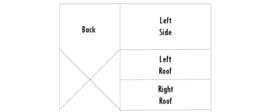
In this VMK I show you how to modify the Triangle, FlatGrid and House class so that you can apply textures on each of these objects. The Vertex2 class is also created.
19f: Corrections
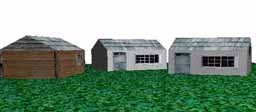
I found a bug in the Scene class code when using the std::map. This video shows you how to correct the bug by replacing std::map with std::vector.
20a: Font Class
The Font class is created which allows you to print text to the screen. This video is the first of a 3 part series.
20bc: Mono Spaced Font
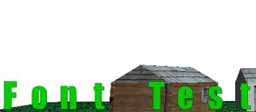
I show you how to use the Font class created in the previous VMK to display mono spaced font on the screen. A number of bug fixes in the engine were also corrected.
20d: Proportional Font

Modifications are made to the Font class to allow proportional font to be used in the game engine. Monospaced font is adjusted to correct for dangling characters. Tips on using fonts are shown at the end of the VMK.
21a: Scene Graph Introduction

This video introduces the concepts used in the scene graph that we will be developing in the following videos. The existing Node classes are renamed to prepare for the new Node types.
21b: Adjust Player Class
The Player class is moved out of the GameOGL class and put into the Scene class.
21c: Node Class
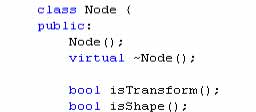
The Node class is created in this video. All scene graph nodes will inherit from this class. The pointer structure used to link all the nodes together is also explained.
21d: Node Transform Class
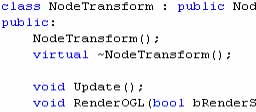
Building off the Node class, the Node Transform class is created and the special math formula to getting the scene graph working is shown.
21e: Shape and Geometry Classes
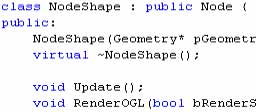
Building off the Node class, the bare bones of the Node Shape class is created followed by the Geometry class. More details will be added to the Node Shape class later after we get items rendered on the screen using the new scene graph system.
21f: Two Geometries
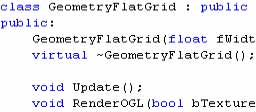
The Flat Grid class is converted to use the new scene graph system, and the GeometryBox class is also created.
21g: Rendering the Scene Graph
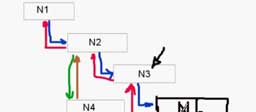
The Scene class is modified to allow us to use the scene graph that we have been developing. A box and flat grid is rendered to the screen and I show you how to control items dynamically in the scene graph.
21h: Corrections
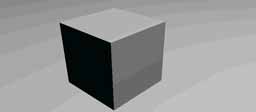
This video shows how to correct two bugs the I found. One bug is in the NodeTransform class, and the other bug is in the Node class.
22: Headlight

A headlight is added to the player so that as they move in the scene, a light source follows their position and points in the direction that they look.
23ab: Material Class
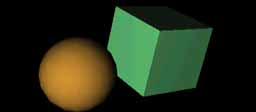
The material class is developed in this video. A visual explanation of the different parameters within the material class is also shown.
23c: Using Materials
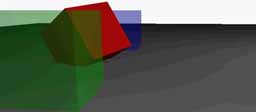
The scene class is modified to support materials allowing us to change the color and appearance of objects in the scene.
24abc: Texturing Box Geometry
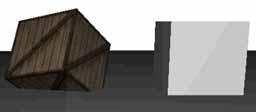
The texture mapping on the box geometry is modified so that we can have four images on the different faces of the box.
24de: Texture Quality & Mip Map
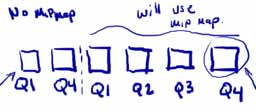
A quality factor is added to the texture class so that you can optimize your images for either performance or quality. Automatic mip mapping is also added.
24f: Textures and Alpha Channel
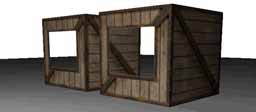
Support for the alpha channel in texture files is re-established in this video. Now you can make doors with windows and chain link fences all out of one textured object with ease.
25: Texture Transforms
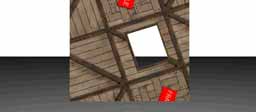
The Texture Transform class is created in the video. With this new class you can animate textures by moving, rotating and scaling them on top of geometry.
26: Visibility
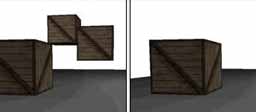
In this video I show you how to modify the scene graph structure so that you can easily make things invisible/visible by changing one parameter.
27: Two Render Passes
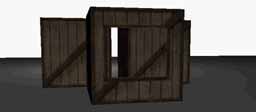
The problem with objects disappearing when rendering transparencies is fixed in this video by introducing two render passes.
28: Infinite Plane Class
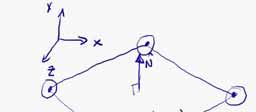
This video shows you how to create a class to represent a 3D plane mathematically. The plane can be defined by a normal and a point, or by passing three points to the constructor. To get the plane class working, a number of modifications to the Vector3 class had to be made.
29ab: Cylinder Class

A new geometry is added to the game engine (The Cylinder). In this video I show you how to create all the vertices and normals that are used to define a cylinder having anywhere between 3 to 20 sides.
29c: Smooth Shaded Cylinder
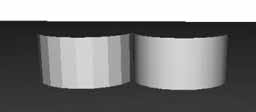
I show you how to calculate normals for the edges of the cylinder rather than the faces of the cylinder. The result gives you a smoother looking cylinder.
29d: Texturing the Cylinder

Texture coordinates are added to the cylinder class so that you can apply any texture you like.
29e: Rolling Cylinder
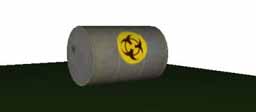
I show you how to make cylinders roll on flat surfaces in this VMK. I also present a challenge to you in this video. The last part of the VMK describes and fixes a problem with GL_BLEND the was found in the code.
30: Node Light Class
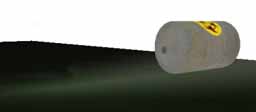
This new class lets you attached light sources to transform nodes in the scenegraph. This ability allows you to easily control the position and orientation of the light source when it is attached to an object in the scene. ie Headlights of a moving car.
31a: Introduction to Parsing Text Files
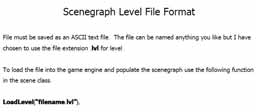
In this VMK I outline how the text parser will work and what are the keywords associated with the parser. In the next video we begin to program the code.
31bcd: Parser Project
The *.lvl file parser is created in this VMK. A lot of string/text manipulation is used to identify keywords and options in the file and the results are displayed on the screen.
31e: Porting Parser into Engine
This long VMK (almost 2hrs) goes through the task of parsing the *.lvl file and creating all the required elements in the scenegraph.
32ab: Caligari File Format Spec
I will be creating a parser to read in 3D files saved in the Caligari binary file format (*.COB or *.SCN). This video explains the Caligari file format which will be read in by the parser.
32cde: Caligari Parser Project
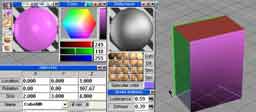
In this VMK I show you how to parse the PolH, Mat1 and ShBx chunks contained in Caligari COB and SCN files. Data that we are interested in is saved into variables and displayed to the screen.
32fg: Caligari File Class
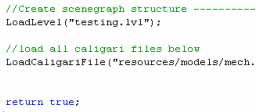
A new class is created inside the game engine that is used to handle all the work to be done to read in Caligari files into memory.
32h: CaligariMat1 Class
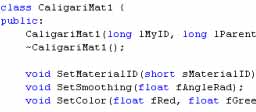
I show you how to implement the CaligariMat1 class used to store all the Material chunk data in memory.
32i: CaligariShBx Class
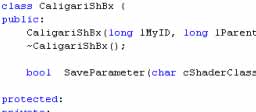
I show you how to implement the CaligariShBx class used to store all the Shader chunk data in memory. I move back and forth between the parser project finished in VMK32E so make sure you have this program running before viewing this VMK.
32j: CaligariPolH Class
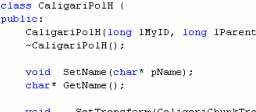
I show you how to implement the CaligariPolH class used to store all the Polygon chunk data in memory. We also need a new Vector2 and GeometryCompiled class so I show you how to add these as well.
32klm: Rendering Caligari Files
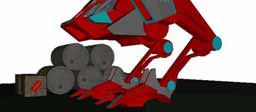
I show you how to render a Caligari file in this video using the GeometryCompiled class.
32n: Smooth Normals

This VMK shows you how to calculate the normals for all loaded Caligari files so that curved surfaces look smooth. The Vector3 class is also updated.
33: Scenegraph Logger
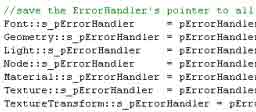
This VMK shows you how to modify the Font, Material, Light, Texture, TextureTransform, Geometry, GeometryBox, GeometryCylinder, GeometryFlatGrid, GeometryCompiled, Node, NodeShape, NodeLight and NodeTransform classes so that all the scenegraph data can be output to the log file for viewing.
34ab: Console Window
NOTE: Between VMK 34 and VMK 38 I may have introduced some bugs that I didn't notice until VMK38c. If you are having problems compiling your code, watch VMK 38c.
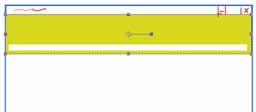
I start by cleaning up the structure of the game engine and then I create the UserSettings class that allows us to pass data between the GameOGL class and the Scene class very easily. The ConsoleParam struct is also created which is used to contain all the console window parameters.
I start by cleaning up the structure of the game engine and then I create the UserSettings class that allows us to pass data between the GameOGL class and the Scene class very easily. The ConsoleParam struct is also created which is used to contain all the console window parameters.
34c: Console Text
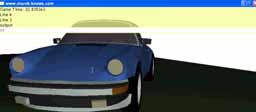
I add keyboard control to the console window to enable and disable the FPS output. I also show you how to attach text to the console window so that it scrolls up and down when the TAB key is pressed
34d: Echo Text to Console Window
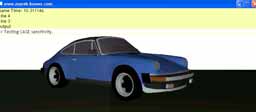
Key presses on the keyboard are now echoed to the console window to show what is being typed.
34e: Parse Console Input Text
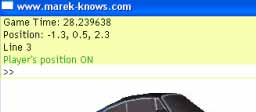
Keyboard input into the console window is now parsed. I show you how to implement a few keywords like fps, save, quit and position.
34f: Texturing the Console Window
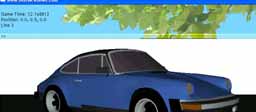
A small modification is made to the ConsoleRender function so that the yellow rectangle, used as the background of the console window, is replaced with a texture.
35ab: Intro Splash Screen
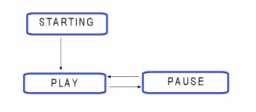
I start off by showing you how to clean up the game engine code so that we can easily change the game state using either the GameOGL class or the Scene class. The game's timing is updated and then I show you how to add a splash screen to the beginning of the game.
35c: Animating the Splash Screen

The ShowIntro() function is updated in this VMK so that the splash screen can change with the passing of time. I show you how to make a fade effect and I give you ideas of what other kinds of effects you can now do.
36: Handling Command Line Input
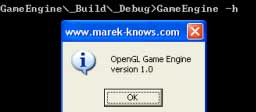
I show you how to handle command line input passed into your game from the command console. I also show you how to do the same thing within visual studio. We use this functionality to bypass the splash screen during development.
37a: Mouse Input version 2
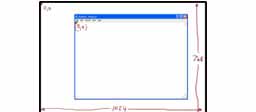
Mouse input control is reworked in this video so that all mouse activity is handled via windows messages.
37b: Display Mouse XY Coordinates
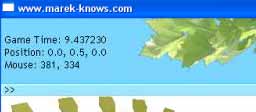
The ability to display the current mouse X,Y co-ordinate location is added to the console window. Note that at the end of the video I say that you can not see the mouse cursor, however if you watch the video you will actually see the cursor. This is because of the video recording software that I am using. When you run this program on your computer, you will not see the cursor on the screen when you move the mouse over top of your own window.
37c: Custom Mouse Cursor
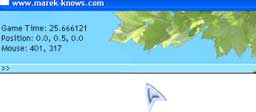
I add a custom mouse cursor to the game engine in this VMK. Note that in the video, you will see the default windows mouse cursor and the custom mouse cursor rendered, however this is only an artifact from my video recording software. When you actually do this on your own computer, you will only see the custom cursor rendering on the screen.
38a: GUI and Game Flow
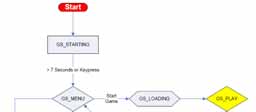
A flow chart is presented at the beginning showing how the game that we are working on is going to work. All the GUI elements that we will be building are demonstrated so that you can get a feel for how they are going to work once this mini-series is complete.
38b: GUI Control Class
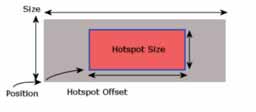
All GUI elements will be derived from the GUIControl class that we develop in this VMK
38c: Clean Build
Sometime between VMK34 and VMK38 (I think) I have introduced a bug into the build. This short video shows you how to fix it. You should do a clean build of your solution every now and again, just to make sure Visual C++ is using the correct version of your code when it compiles.
38d: GUI Button Class
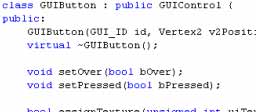
The first GUI element we create is the Button. The class definition is shown in this VMK
38ef: Using GUI Button Class
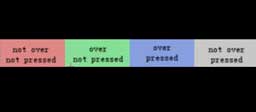
This video shows you how to use the GUIButton class that we created in the previous VMK.
38g: GUI Radio Button

The next GUI element we create is the Radio Button Group. This class allows you to add GUI Buttons to it that work together as a radio set.
38h: Using GUI Radio Class

I use the GUI Radio class developed in the previous VMK to get some radio buttons working on the screen.
38i: GUI Slider Class
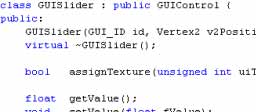
This VMK shows you how to implement the GUISlider class used to create sliders. The sliders can be continuous or notched and range over any values that you would like.
38j: Using the GUI Slider
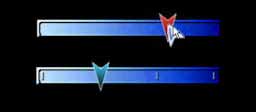
The GUISlider class created in the previous VMK is demonstrated in this video. You get to see the continuous and notched behaviour in action. At the very end of the VMK, I also show you how to fix the game engine so that it doesn't return strange return values.
38k: GUI Text Class
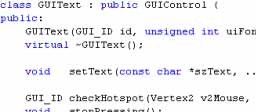
Using the Font class, I create a GUIText class. I also show you how to change some existing code that uses vsprintf in the ErrorHandler and Scene class's. Some changes to the Font class also had to be made.
38l: Using GUI Text
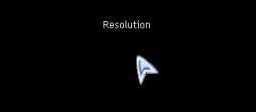
The GUIText class created in the previous VMK is used to render text on the screen.
39a: Implementing GS_MENU Screen
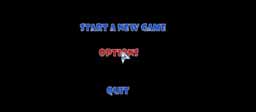
I implement the GS_MENU state in the game. I include all the functionality to start a new game (going from GS_LOADING to GS_PLAY), go to the options menu (GS_OPTIONS) and you can now quit the game from the main menu.
39b: GS_OPTIONS Screen
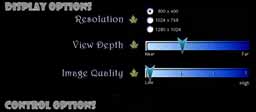
In this video I layout the GS_OPTIONS screen. The functionality of all the controls will come in the next VMK.
39cde: Update UserSettings Class
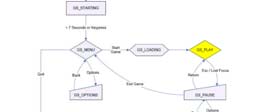
There are a number of small changes that need to be made all over the code to get all the GUI controls in the GS_OPTIONS screen to work properly. Most of the changes are linked to the UserSettings class, but we do need to make changes inside GameOGL, Scene, Player and more. I also show you how to load and save data (using fstream) from/to a file so that we can keep track of the users preferences.
39f: Handling GS_Loading State

I show you how to split your game engine into two parts. The first part is responsible for loading all the GUI resources, and the second part will load the 'first level' that the user will play. I also show you how to fix any strange anomalies when loading 3D models generated from other 3D modeling software.
39g: GS_PAUSE & GS_PAUSE_OPTIONS
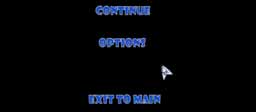
I finish the GUI navigations by adding the GS_PAUSE and GS_PAUSE_OPTION screens in this VMK.
40: GUI Move Command
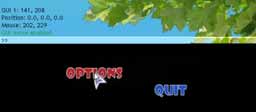
In this video tutorial I demonstrate how to implement a new console command that allows you to manipulate the layout of all the GUI controls in real-time using the mouse while the game is running.
41: Game State Navigation System
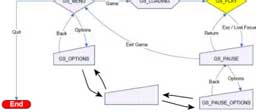
I demonstrate how to improve the Game State Navigation System. The improved system gives us more flexibility with laying out our menu system. We gain the ability to visit the same Game State from different directions, something that can''t be done with the current implementation.
42a: Update GUISlider Class
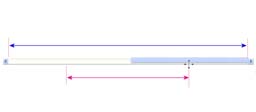
In this video I shows how to improve the GUISlider class so that we can use it in the next VMK to start creating the GUIList class.
42bc: Create GUIList
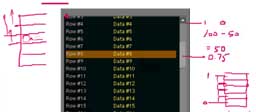
I show the internal workings of the GUIList control. This general list box lets you list rows of data in the control. If the number of rows is more than what can be seen on the screen, a scrollbar will appear allowing you to scroll up and down through the list of items. Each row of data can have multiple columns, and each column can have its own font and color.
42de: Using GUIList
In this video I add the GUIList control to the game engine and demonstrate how to use it.
43ab: Key Mapping
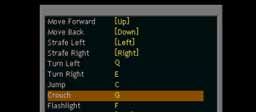
I show how to modify the UserSettings class so that we can dynamically change the key''s that are mapped to each of the actions in a game.
43c: Special Key Presses
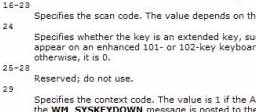
In this video we go into the details of how to handle special keys on the keyboard including F10, F12, Number Pad Enter, Print Screen, Left & Right Shift, Control and Alt Keys. Mouse key presses are also handled the same way as all other key presses from the keyboard.
44ab: 3rd Person Camera
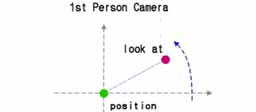
To prepare for the swap over from the 1st person camera to the 3rd person camera controls, we replace the old camera class with a new one that uses the gluLookAt function.
44c: Adding a Player Model
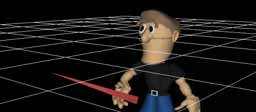
We separate the Player class from the Camera class and attached a 3D model of the player to our movement controls. The player is rendered in front of the camera as we move around the world. A little bit of 3D math is involved to figure out where to position our 'pivot' point so that when we rotate the camera, our scene/view updates correctly while keeping the 3D model at the correct spot.
45: Working with Visual C++ Express

I show you how to modify the game engine code so that it will work under Visual C++ 2005/2008 Express Editions.
Continue learning more by doing the Ghost Toast VMK series next.


