
Ghost Toast
This tutorial series will take you through the entire game design and development process of creating a FPS game using the 3D OpenGL Game Engine. All 2D textures and 3D models used in the game are supplied to you. Learn to take your imagination and turn it into reality!
To learn more about the game, visit this page.
You can purchase the starting OpenGL Game Engine source code (and other helpful tools used throughout the video series) from the Shop.

Looking for server...
0: Introduction

A brief introduction to the Ghost Toast series. Where I will be starting and what will be covered.
1: Design Plan
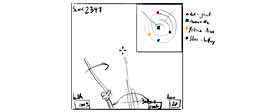
In this video I talk about the general design of this game. I cover the following topics: Objective, Rules, Screen Layout, AI, Animations, Pickups, Spawning, Damage, Points, Map and Collisions.
2ab: Project Setup

I show how to take a fresh copy of the Game Engine Source Code and start using it to make the Ghost Toast game.
The generic game engine splash screen is also replaced with a new one in this video.
The generic game engine splash screen is also replaced with a new one in this video.
2cd: Cursor and Main Menu
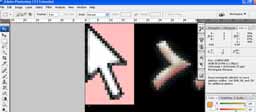
This VMK focuses on getting the cursor and main menu setup. When you are done, you will have the cursor rendering correctly on the screen, and you will have also fixed the GUIButton class so that we can get perfect pixel-to-pixel mapping onto our controls.
The console window will be reactivated, allowing us to dynamically position the four GUIButton controls (Play, Highscore, Config and Quit) found on the main menu using the gui command.
The console window will be reactivated, allowing us to dynamically position the four GUIButton controls (Play, Highscore, Config and Quit) found on the main menu using the gui command.
2e: GUI Image Class
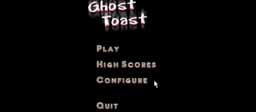
A new GUI control is added to the game engine called GUIImage. This control is used to display the Ghost Toast title on the main menu.
The GUIImage class is also used to display a menu selector on the main menu. When you highlight a menu option, the selector will move to point at the highlighted option.
The GUIImage class is also used to display a menu selector on the main menu. When you highlight a menu option, the selector will move to point at the highlighted option.
3a: Texture Manager Info
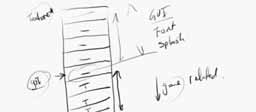
I will be creating a Texture Manager so that it is easier to load and handle textures inside the game engine. This VMK explains the changes that are going to be made.
3b: Texture Manager Class
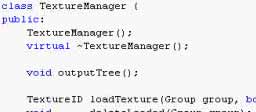
I create the Texture Manager class in this VMK which I'll be using to handle all my textures from now on. The Texture Manager allows you to load textures into groups for easy management of resources.
3c: Texture Class Update
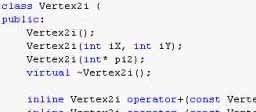
To be able to compile the Texture Manager class, I need to update the Texture class and add a new class (Vertex2i) to the game engine. Both of these things are done in this VMK.
3de: Scene Class Update
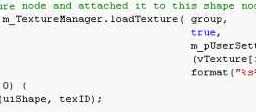
I update the Scene class so that I can start using the Texture Manager to handle all the loaded textures in the Ghost Toast game. The game engine is cleaned up a little too. I move around all the static member variables from different classes.
3f: Font Management
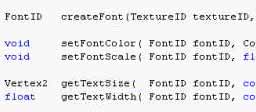
Functions that were previously written for the Scene class are moved into the Texture Manager to expand its capabilities.
3g: Delete Graphics Renderer
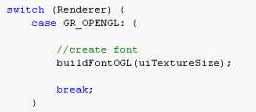
A short VMK showing how to remove the graphics renderer enumeration in the game engine. We are always using OpenGL so there is no need for extra switch statements everywhere.
3h: Font Class Upgrade
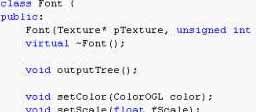
The Font class is upgraded so that it will work with the Texture Manager created back in VMK3F. The Font class also had the same 1 pixel offset problem that was described in VMK2CD, but it is fixed in this VMK.
3i: Using Font Management
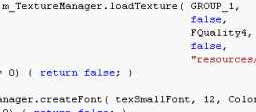
I update the Scene class to now use the Font Management functions in the Texture Manager. The GUIText and GUIList functionality has been disabled so if you try to use these classes, your program will crash. I will address this in VMK 4.
4a: GUI Manager Intro
A short introduction to the GUI Manager class which will be added to the game engine. The GUI Manager will be responsible for managing all the GUI assets that are loaded into the game engine.
4bcd: GUI Manager
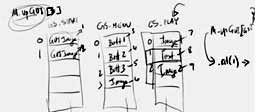
The GuiManager class is created and all the code used to interface with a GUIButton is added into the manager.
4e: GUI Button and GUIControl Upgrade
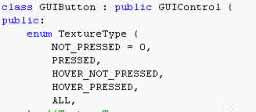
The GUIButton class and the GUIControl class are upgraded in this VMK so that they will work with the new GuiManager class.
4fg: Using GUI Manager
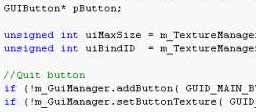
Changes made in the GUI Control class earlier forces me to update the other GUI classes so that they will work with the GUI Manager. The Scene class is also updated to allow for the use of GUI Buttons on the main menu.
4h: Adding GUI Image to Manager
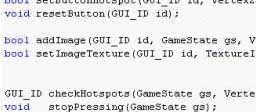
This is a short video showing how to add the GUI Image class to the GUI Manager.
4i: Using GUI Images
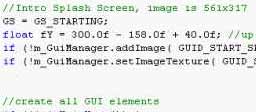
Now that the GUI Manager can handle GUI Images, I update the Scene class to re introduce the Ghost Toast title and the menu selector found on the main menu. I also convert the splash screen to a GUI Image.
4j: GUI Cursor
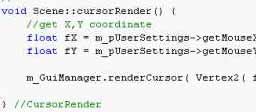
A cursor object is added to the GUI Manager in this video. You can now easily swap the cursor image any time you like and you can render the cursor on any screen in the game.
4k: Gui Move Command
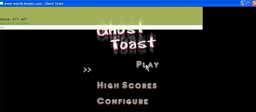
The Gui Manager is updated to include the console command GUI. When you activate this command, you are able to move/position GUI controls on the screen using the mouse. This feature was first introduced in the OpenGL Game Engine VMK40
5a: Gui Navigation
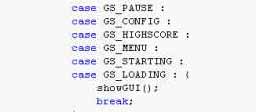
With the GUI Manager now working for us in the Scene class, the GameOGL::frame function can be simplified.
5b: Animated Introduction

I show how to animate the splash screen image. The image/logo slides into view from the left, pauses in the middle of the screen, and then slides off to the right.
5c: Menu Options
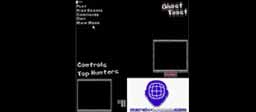
Navigation from the Main Menu screen into and out of the Configure and the High Scores screens is implemented in this VMK.
5d: Managing GUI List
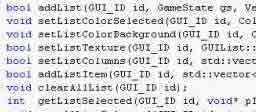
I add the necessary function to the Gui Manager class so that we are able to work with GUI List objects using the manager.
5e: GUI List Update
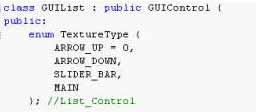
The GUI List class is updated in this video so that it will work properly with the GUI Manager. The GUI List class was first introduced in the OpenGL Game Engine VMK 42
5f: Highscore and Config List Boxes
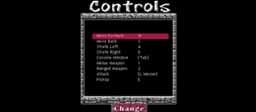
A list box is added to the Highscores screen. There are no scores listed here because we can''t earn points in the game yet. A list box is also added to the Configure screen which lists all the game controls that are available in the game.
6a: Managing GUI Text
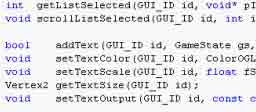
I add a few new functions to the GUI Manager class so that I can use GUI Text objects once again with the game engine.
6b: GUI Text Update
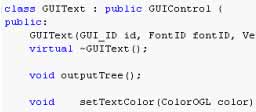
The GUI Text class is updated in this VMK so that it will work properly with the GUI Manager. The Vertex2 class is also updated to allow for Vertex2 * float calculations to be performed.
7: Changing Key Mapping
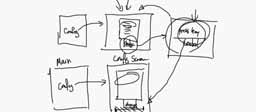
The configuration screen is completed in this VMK. By the end of the video you'll be able to change what key is associated with each control in the game.
8: Bug Fix
In this video I show how to fix a bad bug in the game engine's parser found by a member of the website. I also show how to fix one other bug.
9: Play and Pause
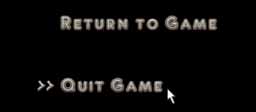
I update the game so that we can click on the Play button on the main menu. This causes the game resources to get loaded into the group 2 memory space. From the play screen you can also ESC into the pause screen and from there you can now return back to the main menu.
10: Keyboard Navigation
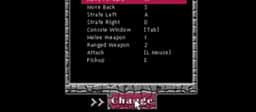
In this video I show how to implement a method that will allow the user to navigate through all the menus without having to use the mouse. All navigation can now happen just by using the keyboard arrow keys.
11: Geometry Names
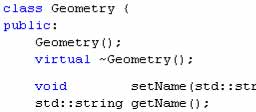
This is a preparation video for the next VMK. Right now all geometry that gets loaded by the LVL loader is not easily accessed via the source code. To fix this, I've given a name tag to all the geometry classes so that from within the Scene class I can quickly do a search for each one that I want.
12: Basic Level Editor

I start work on the level editor that we will be using in Ghost Toast. At this stage we will be using a TGA file (named map) to hold all our level data. By the end of this VMK, you'll be able to load a map file and extract the pixel data from it. We use white pixels to represent the floor, and black pixels to represent walls.
13: Rooms
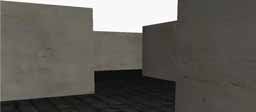
I introduce new color codes into our maps so that we can add details. I add yellow and magenta to represent wooden and carpet floors. All textures used in the project are included with this VMK.
14: Ceiling
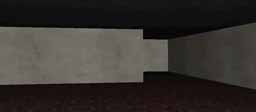
First thing is to correct the initial position (and direction) that we start at. Then I show how to add a ceiling above us.
Next step is to make the rooms taller than the hallways and raising the ceiling in the process.
Next step is to make the rooms taller than the hallways and raising the ceiling in the process.
15a: Collision Codes
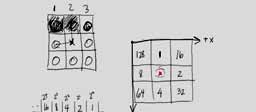
In this video I start developing the collision detection system. First thing to establish are the collision codes for each map square.
15b: Testing Collisions
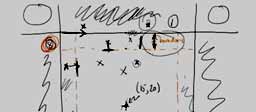
Preventing the user from walking through walls that are beside or in front of the player is explained and implemented in this video.
15c: Corner Collisions
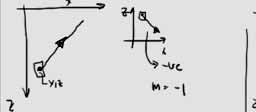
The final collision equations are developed in this VMK. These are used to react when a player tries to walk through corners on the map.
16: HUD Font
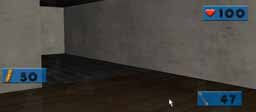
A new font is added to the Ghost Toast game and it is used to display numerical items on the HUD. The Health, Energy and Arrow count indicators are now visible when you play the game.
17: Pickup Object Class
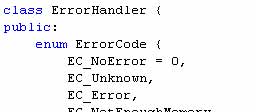
The generic pickup object class is defined in this VMK. We will be using this class to derive classes used for the health packs, arrows and energy pickups within the game.
To simplify the game engine and also make the Pickup Object class compile, I made some fundamental changes to the game engine. In this VMK you'll see that the ErrorHandler can now be accessed from anywhere, GameOGL is updated and I clean up all the virtual keywords throughout the program.
To simplify the game engine and also make the Pickup Object class compile, I made some fundamental changes to the game engine. In this VMK you'll see that the ErrorHandler can now be accessed from anywhere, GameOGL is updated and I clean up all the virtual keywords throughout the program.
18: Physics Engine
I copy the physics engine code from Physics Engine VMK 14 and add it into the game engine. In the process I also update the WindowsParameters structure.
19a: Health Pack Class
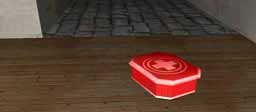
The health pack pickup object class is created in this VMK and the 3D model of the health pack is loaded into the game. The VMK file format has been recently updated to v1.1 so I also show the changes that need to be made to be able to load this new format.
19b: Health Pickup and Respawn
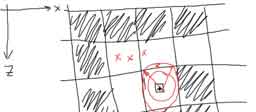
The isRetrieved function is implemented in this video. You will now be able to pickup health packs in the game and the player's health is updated accordingly every time you do.
20a: Pickup Arrows Class
I create the PickupArrows class used to animate, render and keep track of the arrow pack pickup object. Also in this VMK, the Integrator1 class from the physics engine is imported.
20b: Arrows Pickup and Respawn
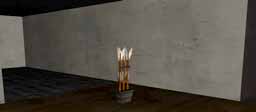
Using the class created in the previous VMK I add the animated arrow pickup object to the game. Updates are made to the Player class and to the Scene class to make this happen.
21a: Pickup Energy Class
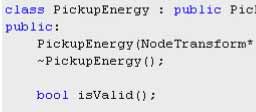
The PickupEnergy class is created in this VMK and the nested node transform structure used to animate the battery cell is explained.
21b: Energy Pickup and Respawn
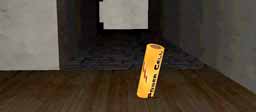
The battery object is added into the scene and animated. Near the end of this VMK, I clean up the Sleep(1); issue that I forgot about earlier and also removed one extra keyboard control.
22: General Math Update
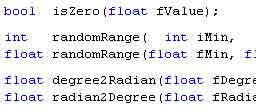
A number of small updates are made to the GeneralMath class.
The random number generator function is updated, the swap function is added, and the constant values that use the value of PI are also updated.
For more information about random numbers check out Intro to C++ VMK 16
The random number generator function is updated, the swap function is added, and the constant values that use the value of PI are also updated.
For more information about random numbers check out Intro to C++ VMK 16
23: Random Position
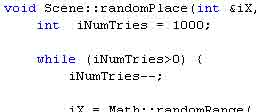
New functions are created in the Scene class that allow you to randomly place items in the map. Care is taken to make sure that the item will always land on an empty square (not in a wall) and that there is nothing else already in the same spot.
This is used to randomly scatter all the pickup objects in the level and also to randomly place the player when the game starts.
This is used to randomly scatter all the pickup objects in the level and also to randomly place the player when the game starts.
24: Remove Vertex Classes
Three classes (Vertex2, Vertex2i and Vertex3) are removed from the game engine in this VMK. These classes are not needed so they are replaced with our Vector classes.
25a: Radar Display
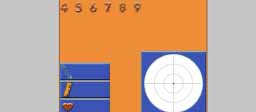
I start work on the radar map unit by adding the graphic image to the resource files. This video focuses on making the radar map display in the top right hand corner of the screen and also animating it open and close based on the battery power.
25b: Radar Dots
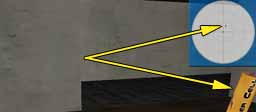
In this VMK I add the radar dots showing where things are located relative to the player. Blue dots for arrows, and yellow dots for batteries.
25c: Radar Sweep Arm
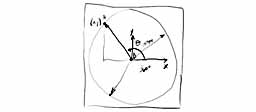
The arm that sweeps around in a circle in the radar unit is created in this VMK. A new function is also added to the GeneralMath class that will make things easier for us a little later on.
25d: GUI Fade Dots
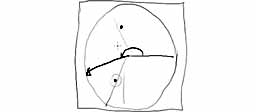
In this last VMK in the Radar Unit section, I show how to make the dots appear when the arm sweeps by them, and slowly fade out of view when the arm moves away from the dot. New functions are added to the Vector2 and Math classes.
26: Static UserSettings Class
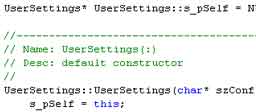
In this VMK, I update the UserSettings class and make a static get() function to allow us to retrieve a pointer to this class anywhere in the code without having to explicitly pass a pointer around.
27a: Mace Weapon
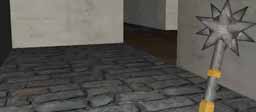
I have included the mace.vmk file with this video so that you can use it in the game. The mace class is started in this VMK and used to position and render the mace on the screen.
27b: Swing the Mace
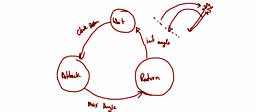
Three states are added to the mace class in this video. These states are used to animate the swinging motion of the mace when the attack button is pressed.
28a: Ghost Class
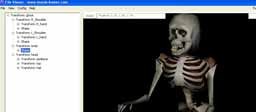
I have supplied the ghost.vmk 3D model with this video to be used to render a ghost on the screen. A Ghost class is created in this video to manage the ghost object in the game. The radar unit is also updated to show a red dot where the ghost is positioned in the map.
28b: Duplication
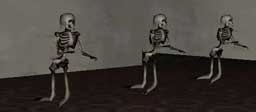
The ability to duplicate a subtree of the scenegraph is added in this VMK. I use the duplication function to make two more copies of the previously loaded ghost.vmk so that we have 3 ghosts in the game.
29: ErrorHandler and Output Log
A bunch of clean up tasks are performed in this video. The ErrorHandler pointer inside a number of classes is handled better. All Wall, Floor and Ceiling objects loaded by the level are named so that they are easy to find in the scene graph and the Scene::OutputSceneGraphLog function is updated.
30: Interpolate1 Class
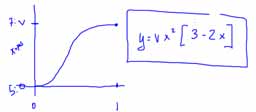
This video is tied closely to Math VMK 10 - Smooth Interpolation. The equations derived in the Math VMK are implemented in a new class called Interpolate1.
31a: Floating Ghosts
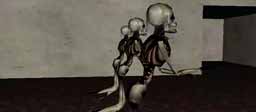
Using the Interpolate1 class created in the previous VMK, the ghosts are given the ability to float on a spot.
31b: Biting Ghosts
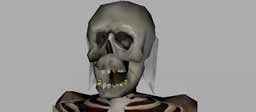
Using the interpolate class again, and playing with some timing, we make the ghost's jaw move in a biting motion.
32: Ghost Facing Direction
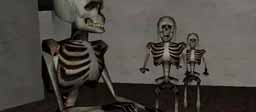
In this VMK I make the ghosts aware of the player's position so that they can turn to face the player. A typo in the Vector3 class is fixed and a new GeneralMath function is added.
33: Kill A Ghost
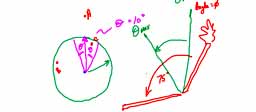
I show how to add 4 states to the Ghost class. The states are used to control the ghosts behavior. One of the states is the dying state which allows the player to hit a ghost with the mace and kill it.
34: Score Keeping
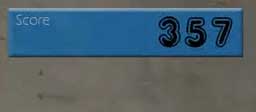
I add a score indicator to the HUD. When a ghost is hit with the mace we collect points and the indicator updates. The renderHud function is also updated so that the HUD is always drawn on top of everything rather than having it get clipped by objects inside the scene.
35: Game Lighting
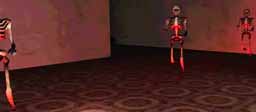
I explain what causes little white dots to appear on the screen and I show how to fix them. I add some light attenuation to the game to make things a little darker and also attach light sources to the ghosts to make them stand out better.
36: Respawn Ghosts
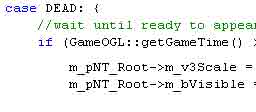
When a ghost is killed, it will be off the screen for a few seconds. When the time is up, it will reappear back in the level ready to go again.
37a: Crossbow Weapon
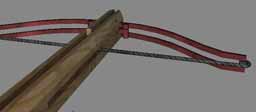
Included with this video are the 3D models for the crossbow and arrow objects. The video shows how to create the Crossbow class and use it to render the crossbow on the screen.
37b: Crossbow States
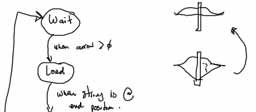
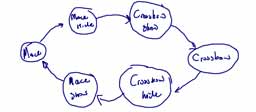
The crossbow has 5 states that it can be in. The state machine to control the crossbow is implemented in this VMK.
37c: Arrow Motion
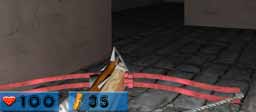
The arrow object is placed on the crossbow in this VMK when the player picks up a quiver of arrows. We also animate the arrow being pulled back and shot forward when the attack button is pressed.
38a: Shooting Arrows
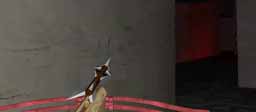
In this VMK I explain how to handle arrow objects when the player shoots using the crossbow. This video focuses on rendering a single arrow object as it leaves the crossbow.
38b: Multiple Arrows
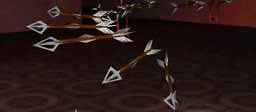
The arrow object is duplicated multiple times and code is added to allow for more than one arrow to be rendered on the screen at a time.
38c: Flying Arrows
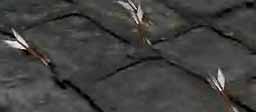
Motion equations are implemented for each arrow to make it move across the screen. Arrow collisions with the floor is also added.
38d: Arrow Collisions
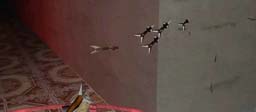
A method to make flying arrows collide with the walls and ceilings of the level map is presented in this VMK.
39: Shooting A Ghost
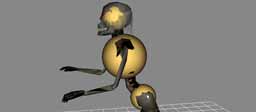
This VMK dives into the math required to allow the player to shoot and kill ghosts. Three hot zones are set up on the ghosts head, chest, and hips. These zones are monitored to see if any arrow hits them.
40: Crosshairs

Crosshairs are added to the HUD so that you can see exactly where you are pointing the crossbow weapon before you shoot it.
41a: Switch Weapons
The Interpolate3 class is created in this VMK and used to allow the player to switch between the Mace and the Crossbow weapon. You can switch weapons using the keyboard or by using the scroll wheel on the mouse.
41b: Weapon Class
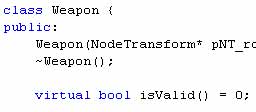
The WeaponCrossbow and WeaponMace classes are simplified in this VMK by inheriting from a general Weapon class that I create in this video.
42: Path1 Class
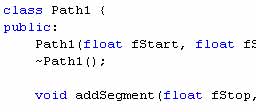
The Path1 class is an extension of the Interpolate1 class created in VMK30. The Interpolate1 class allows you to interpolation a value between two end points. In Path1, you can string together multiple points to form a path, which you can then interpolate across. Each path segment can use either linear or smooth interpolation.
43: Claw Animation
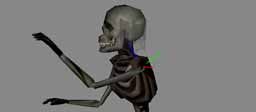
Using the Path1 class developed in the previous VMK, the ghosts left and right arms are put into motion. When the player gets close to a ghost, the ghost will react by clawing at the player.
44: Moving Ghosts
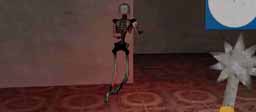
I show how to make the ghost damage the player in this VMK. I also give the ghost the ability to move around in the level so that they don't just stand in one spot.
45: Instructions Screen
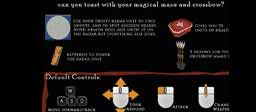
I go back to working with the GUI system in this VMK. A moving ghost image is placed on the main menu screen, and an instruction screen is displayed after you press the Play menu option. The initial position of the player and ghosts are also set to be randomly generated.
46: Game Over
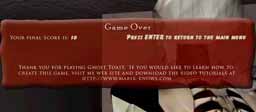
I add a text message to the instruction screen that was made in VMK45, and the Game Over state is added to the game engine. The ability to dynamically fade font is also added in this VMK.
47: Highscore Table
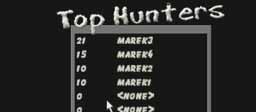
When the player's health reaches 0, the game over screen appears. If the player has enough points to be displayed on the high score table, they are asked to input their name and press enter. Their name and score is then stored in a file and the highscore table is updated.
48a: Add Audio Manager
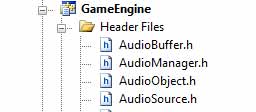
The AudioManager class developed in the 3D Audio Engine VMK series is added to the Ghost Toast game so that we can play sounds.
48b: AudioManager Cleanup
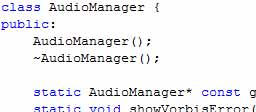
The AudioManager class and all supporting classes are updated so that we replace all printf calls. A new function is added to make it easier to get at the AudioManager from anywhere in the source code.
49: Assign Audio
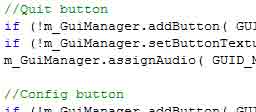
A function is added to the AudioManager that allows us to attach an audio sound effect to a gui button. When the cursor moves over top of the button, the audio file is played automatically.
50: Heartbeat and Footsteps
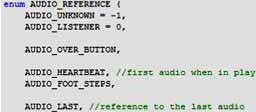
Two new sound effects are added to Ghost Toast in this VMK. The heartbeat sound is activated when the players health drops below 20. Footsteps are heard when the player moves in the game.
51: Radar and Pickup Sounds
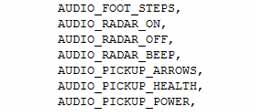
In this VMK six new sound effects are added to Ghost Toast. Three are used by the radar unit and three are used when picking up health, arrows, and the power cell in the game.
52: Attack Sound Effects
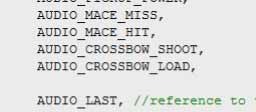
Four new sounds are added to the game. Two sounds when you swing the mace, and two sounds when you use the crossbow. Near the end of the video I also fix a bug when dealing with rendering the crossbow arrow.
53: Ghost Sounds
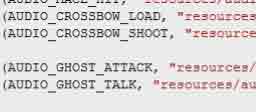
The sounds that are made by the ghosts are added in this VMK. Near the end I also add a helper function that you can use to turn all the sounds off.
54: Stream Game Music
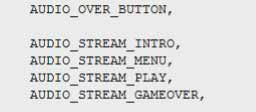
Four music streams are added to the game in this VMK. One is used during the intro/splash screen, one is used in the menu, one is used during regular play, and the last is used when the game is over.
55: Wrap Up
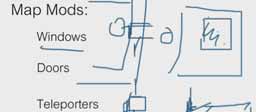
This is the last VMK in the Ghost Toast VMK series. In this video I present some ideas for expanding and improving the game beyond the things that I have already shown in the VMK series.
Continue learning more by doing the Shader Engine VMK series next.


