
Physics Engine
A physics engine framework is created in this section and integration into a game engine is demonstrated. These VMK build on top of the 3D OpenGL Game Engine series. Topics covered include game timing and motion, simulating gravity, wind, and friction.

Looking for server...
0: Introduction
Welcome to network programming in Visual Studio 2010 using C++. This VMK describes what will be covered in the series.
1a: Disable Vertical Synchronization
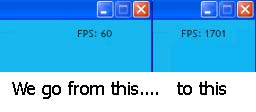
I explain the inner workings of the vertical synchronization feature built into a computer''s video card and monitor. I then show you how to disable it so that we can get the game engine running at more than the standard 60 fps.
1b: VSync GUI Checkbox
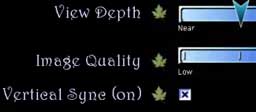
I demonstrate how to add a check box to the Options Menu that will allow you to turn vertical synchronization on and off, while the game engine is running.
2ab: Sphere Geometry
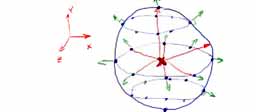
I show you how to generate the vertices and normals for a general sphere shape. The sphere object builds on top of the existing game engine framework.
2c: Texturing Sphere
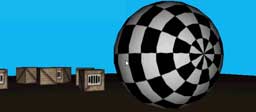
I add texture coordinates to the GeometrySphere class so that we will be able to apply a texture over top of the shape.
3: Position, Velocity, Acceleration
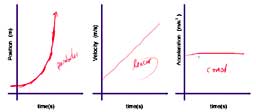
I go through the process of showing how position, velocity and acceleration are related to one another. You will see how to use the derivative to get the velocity and acceleation from a position graph. I will also go backwards and integrate acceleration to get velocity and position.
4a: Cannon Control
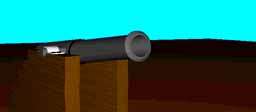
I add a cannon to the scene and assign some keyboard control keys to allow us to change the direction and pitch of the cannon. A bug fix in the texture manager is also shown.
4bc: Cannon Ball
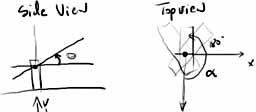
A cannon ball is added to the scene which we can load into the cannon, aim and fire! No gravity in the simulation .... that's coming next.
4d: Gravity
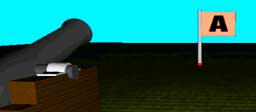
I add gravity to the motion of the cannon ball so that it falls back down to the ground after we shoot it. I also show you how to implement simple collision detection with the ground.
5a: Laws of Motion
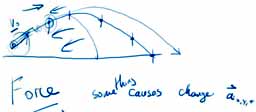
There are three laws of motion developed by Newton that we take a look at in this VMK.
5bc: Types Of Forces
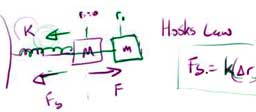
I describe how to calculate six types of forces in this VMK. Gravitational, Spring, Damper, Friction, Buoyancy and Drag forces.
5d: Wind Force
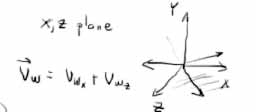
In this VMK I show you how to derive the equations of motion for the cannon ball when wind is blowing in our scene.
5ef: Wind Code
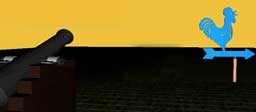
A 3D model of a chicken is loaded into our scene to represent the direction of the wind and the cannon ball properties are all grouped into a separate class.
Keyboard input from the number pad is added to allow us to change the direction of the wind, change the speed of the wind and the mass of the cannon ball. Finally the equations of motion are also implemented.
Keyboard input from the number pad is added to allow us to change the direction of the wind, change the speed of the wind and the mass of the cannon ball. Finally the equations of motion are also implemented.
5g: Drag Force

I show you how to derive the equations of motion when the forces due to gravity, wind and drag are acting on the cannon ball.
5h: Drag Code
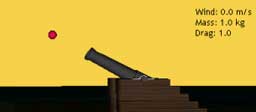
The equations of motion for the cannon ball are implemented in C++. We can now see how Gravity, Wind and Drag forces can cause the cannon ball to change direction.
6a: Integrator Equations
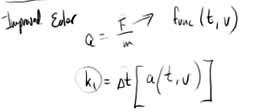
We will be implementing a numerical integrator into the physics engine so that we do not have to calculate the double integration of acceleration ourselves. The equations for the Euler and Improved Euler integrator are shown in this VMK.
6b: Comparing Integrators
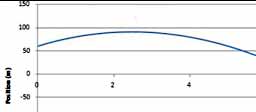
The Euler and Improved Euler Integrators are compared using Microsoft Excel. Use the attached spreadsheet to become familiar with how the integrator works.
6c: Using Euler Integrator
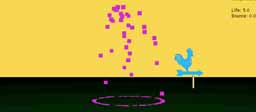
I clean up the code by removing the cannon and I add a new Particle class to the Scene. The Euler Integration equations are added to the Particle class to cause each particle to move independently under the influence of gravity and wind. I then show how to add a few more effects to the Particle class to cause the particles to bounce off the ground and randomly shoot out in different directions.
7: Preparation Work
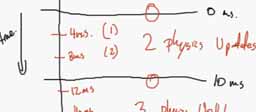
This video explains the inner workings of the physics engine that I'll be adding to the game engine. Near the end I clean up some code to get ready to implement the new algorithm in C++.
8: Render Ship
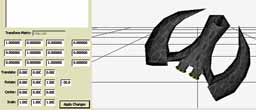
I will be using the physics engine to control a space ship on the screen. In this video the game engine is updated to house the new physics engine algorithm.
9: Space Ship Motion
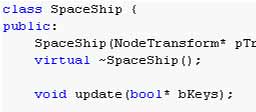
I show how to use keyboard input to control the space ship's motion. Pressing the up and down arrow keys will activate the engines to move forward and back, and pressing the left and right arrow keys will steer the ship left and right.
10: Tuning Space Ship
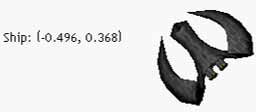
Three things are modified in this video to make the space ship fly better.
1) Angle of space ship is limited to be between +/- 360 degrees
2) Space ship is constrained to always be in the confines of the window
3) Limit the maximum speed of the ship
1) Angle of space ship is limited to be between +/- 360 degrees
2) Space ship is constrained to always be in the confines of the window
3) Limit the maximum speed of the ship
11: Integrator Classes
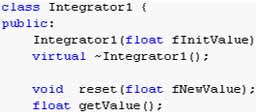
In this VMK I develop two new classes called Integrator1 and Integrator2. These classes will be used to integrate all our 1D and 2D variables in the videos to come.
12: Improved Space Ship Class
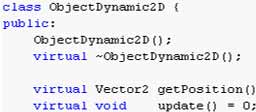
Using the newly created integrator classes from the previous VMK we can now create a better Space Ship class. The new Space Ship class is inherited from ObjectDynamic2D. All objects moving in 2D will be derived from this new class.
13: Interpolation
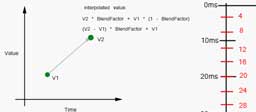
In this video I explain why we need to use interpolation with the physics engine. I then go into the code to implement the technique described and show how you can test the effectiveness of the interpolation. You'll need to do this on your own computer to see the results, since the frame rate of the video is only 10fps which is too slow to really notice the difference.
14: Bullets
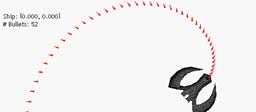
I show how to construct the SpaceShipBullet class which is used to control all the bullets that the ship fires. Each bullet is rendered as a red triangle on the screen. To rotate each bullet to face the correct direction a generic Matrix2 class is created.
I then take the new SpaceShipBullet class and integrate it with the SpaceShip class. If you press the spacebar you will shoot one bullet. If you hold down the spacebar, then a row of bullets will be fired.
I then take the new SpaceShipBullet class and integrate it with the SpaceShip class. If you press the spacebar you will shoot one bullet. If you hold down the spacebar, then a row of bullets will be fired.
Continue learning more by doing the Ghost Toast VMK series next.


